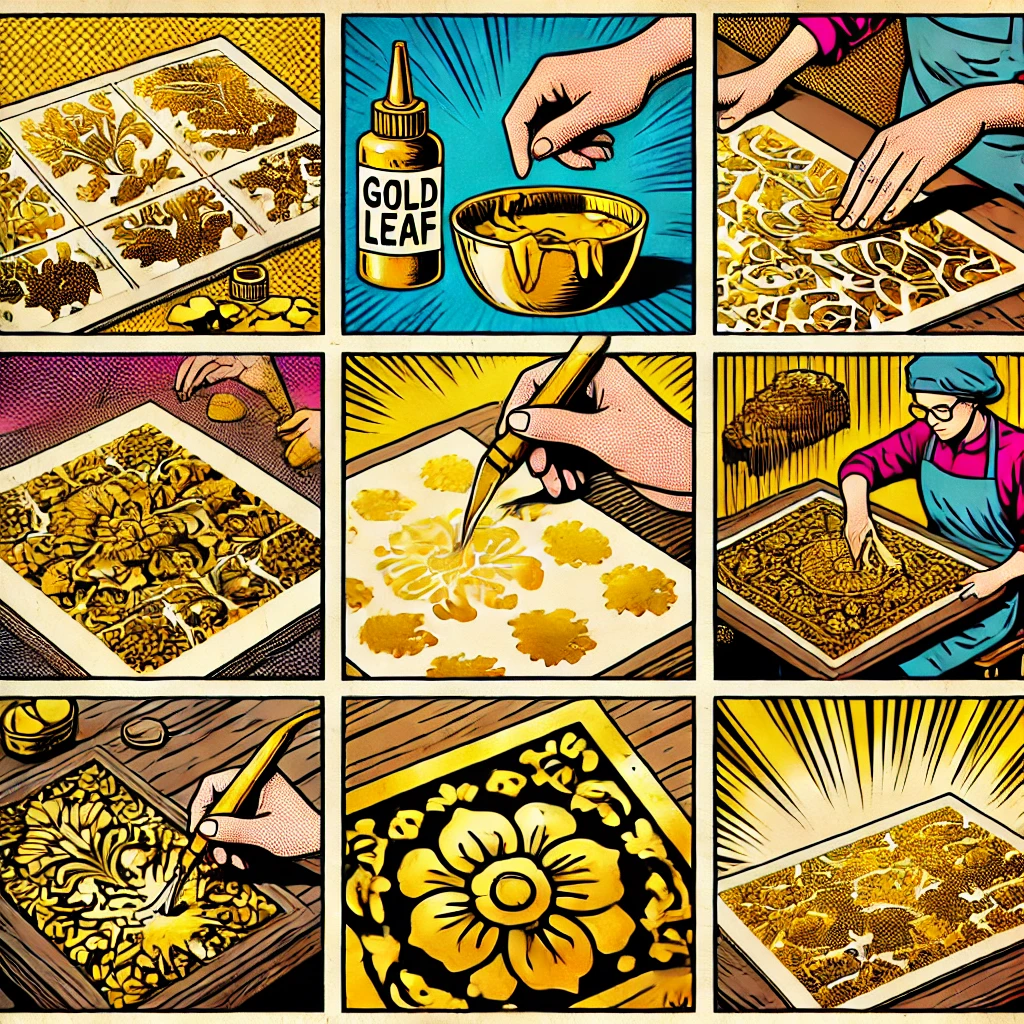
Gold Leaf with Stencil
Gold Leaf with Stencil: Elevate Your Projects with Precision and Elegance
Using gold leaf with stencils is a fantastic way to add intricate designs and luxurious finishes to your DIY projects, art, and decor. Whether creating a bold pattern or a delicate motif, this technique combines the brilliance of gold leaf with the precision of stenciling for stunning results.
What is Stenciling with Gold Leaf?
Stenciling with gold leaf involves applying gold leaf to a surface through a cut-out design. The stencil acts as a guide, ensuring clean lines and consistent patterns. This method is ideal for creating customized artwork, home decor accents, or personalized gifts.
Popular Applications
- Wall Art:
- Use stencils to add gold leaf patterns to canvases or directly onto walls for a sophisticated touch.
- Furniture Makeover:
- Apply gold leaf designs to tabletops, drawers, or cabinet doors to refresh old furniture with a luxurious look.
- Fabric Design:
- Decorate pillows, curtains, or tote bags with gold leaf stenciled patterns for unique, handmade textiles.
- Stationery:
- Enhance invitations, greeting cards, or journals with gold leaf monograms or decorative borders.
- Seasonal Decor:
- Create holiday ornaments, wreaths, or table runners with gold stenciled motifs.
Materials Needed
- Gold leaf sheets or flakes (genuine or imitation)
- Stencil of your choice
- Gilding adhesive (size)
- Soft brushes or sponges
- Sealant (optional for durability)
- Tape or adhesive spray to secure the stencil
Step-by-Step Guide
- Prepare the Surface:
- Ensure the surface is clean and dry.
- Apply a base coat of paint if desired for added contrast.
- Secure the Stencil:
- Position the stencil on the surface and secure it with tape or adhesive spray to prevent movement.
- Apply Adhesive:
- Using a brush or sponge, dab gilding adhesive over the stencil openings.
- Allow the adhesive to become tacky before applying the gold leaf.
- Lay the Gold Leaf:
- Place gold leaf sheets over the adhesive or sprinkle gold flakes for a textured effect.
- Use a soft brush to press the gold leaf into the adhesive and smooth out wrinkles.
- Remove the Stencil:
- Gently lift the stencil to reveal the design.
- Clean up any stray gold leaf with a soft brush.
- Seal the Design (Optional):
- Apply a clear sealant to protect the gold leaf from wear and tear, especially for high-traffic items.
Tips for Success
- Choose the Right Stencil: Intricate designs may require extra care when applying and removing the stencil.
- Test First: Practice on a scrap surface to refine your technique before working on your final project.
- Pair with Contrasting Colors: A dark or bold background will make the gold leaf design pop.
- Layer Designs: Combine multiple stencils for a layered, multidimensional look.
Why Use Gold Leaf with Stencils?
- Precision: Achieve clean, detailed patterns that are difficult to replicate freehand.
- Versatility: Works on various surfaces, including wood, glass, fabric, and paper.
- Luxurious Appeal: Adds a professional, high-end finish to any project.
Conclusion
Gold leaf stenciling is a creative and versatile technique that brings elegance to everyday items. Whether crafting home decor, art, or personalized gifts, this method combines precision with the brilliance of gold to achieve stunning, professional-quality results. With a bit of patience and creativity, you can transform ordinary objects into extraordinary pieces.
