How is Gold Leaf Applied – How to Apply Gold Leaf – Application of Gold Leaf – Gold Leaf Application

Gold Leaf Application
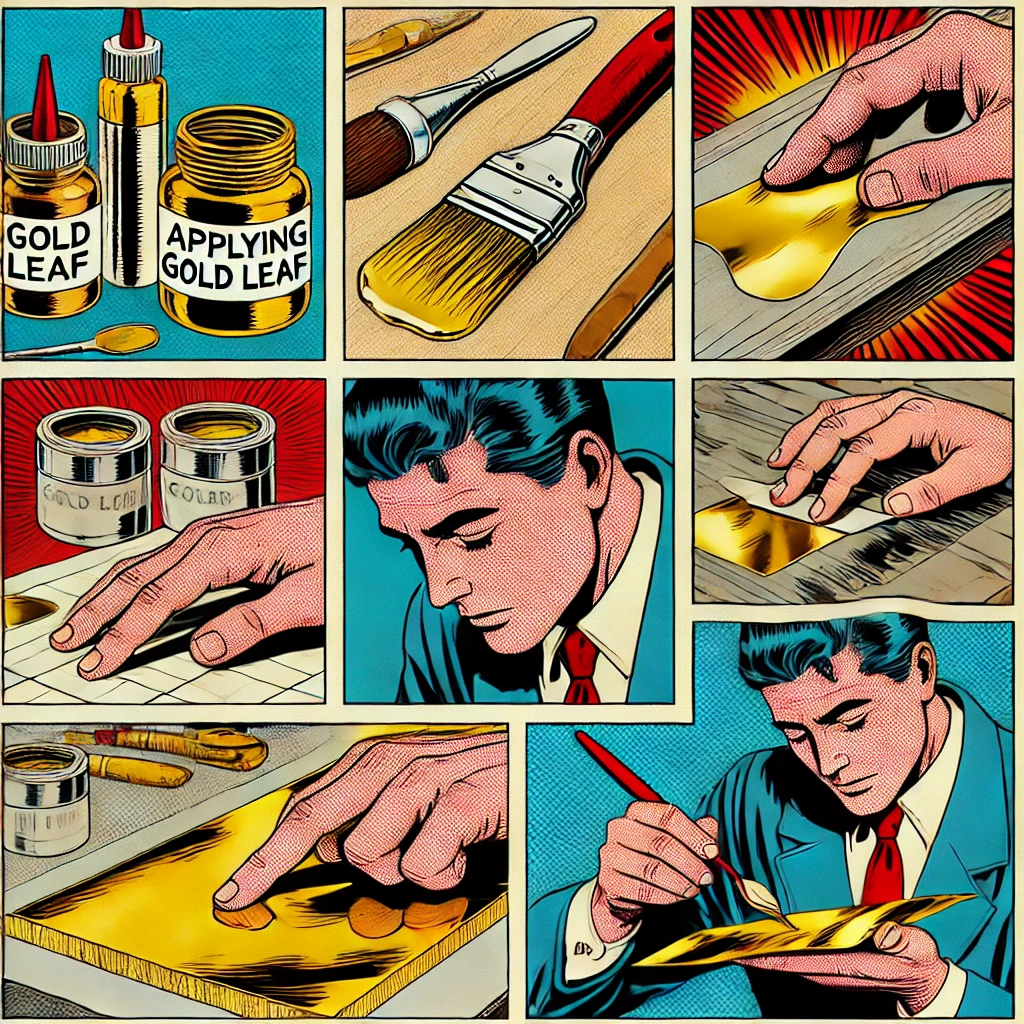
Gold leaf application requires precision and care to achieve a smooth and flawless finish. Here’s a step-by-step guide on how gold leaf is typically applied:
1. Prepare the Surface: Ensure that the surface you’re applying the gold leaf to is clean, smooth, and free from any dust or debris. If necessary, prime the surface with a suitable primer or base coat. This could be canvas, wood, metal, glass, or any other surface suitable for gilding.
2. Apply Sizing: Sizing is the adhesive that allows the gold leaf to adhere to the surface. Apply the sizing evenly over the area you want to gild using a soft brush or roller. Sizing comes in various forms, including water-based and oil-based. Make sure to choose the appropriate sizing for your project. Allow the sizing to become tacky before applying the gold leaf.
3. Cutting the Gold Leaf: Gold leaf typically comes in thin sheets or rolls. Carefully remove a sheet of gold leaf from its packaging using tweezers or a gilding brush. Place the sheet onto a clean, dry surface, and cut it into smaller pieces using a sharp knife or scissors. Cutting the gold leaf into manageable pieces makes it easier to handle during application.
4. Applying the Gold Leaf: Once the sizing is tacky (but not wet), gently pick up a piece of gold leaf using a gilding brush or your fingers. Carefully place the gold leaf onto the sized area, allowing it to gently adhere. Avoid touching the gold leaf with your fingers as much as possible, as it is extremely delicate and can tear easily.
5. Pressing and Burnishing: Once the gold leaf is in place, use a soft brush or a piece of gilding parchment to gently press and smooth the gold leaf onto the surface. This helps to ensure proper adhesion and remove any air bubbles or wrinkles. After pressing, use a burnishing tool or soft cloth to gently buff and polish the surface of the gold leaf, creating a smooth, shiny finish.
6. Removing Excess: Once the gold leaf is applied and burnished, gently brush away any excess gold leaf using a soft brush or a clean, dry cloth. Be careful not to disturb the gold leaf that is already adhered to the surface.
7. Sealing the Gold Leaf: To protect the gold leaf and ensure its longevity, it’s important to seal the gilded area with a clear varnish or sealer. This will help to prevent tarnishing and ensure that the gold leaf remains bright and lustrous.
Following these steps will help you achieve a professional-looking gold leaf finish on your project. Practice and patience are key when working with gold leaf, as it can be a delicate and challenging material to work with.
In addition to physical and online classes in the gilding arts, SeppLeaf Products offers an excellent Technical Help section with free assistance.