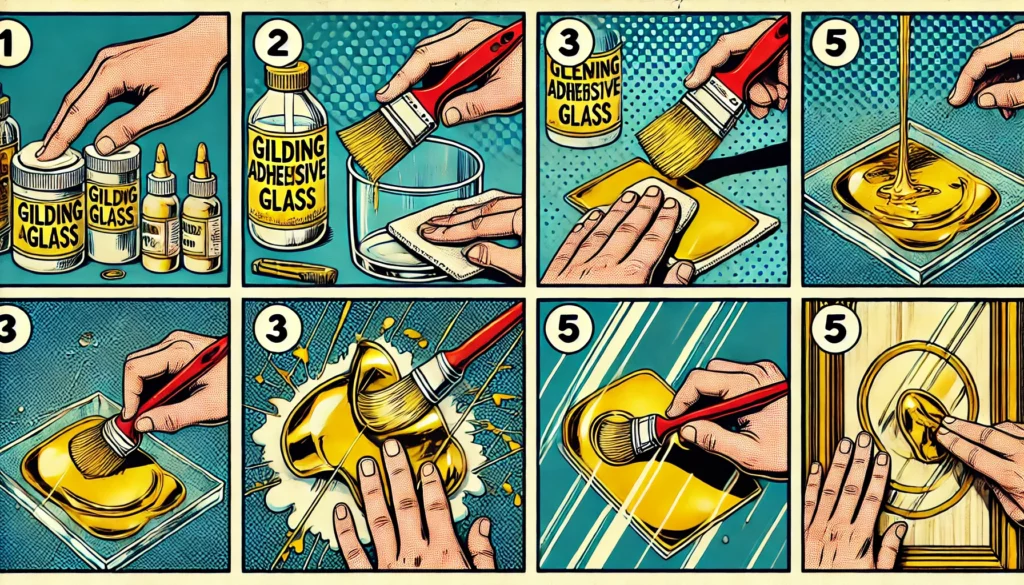
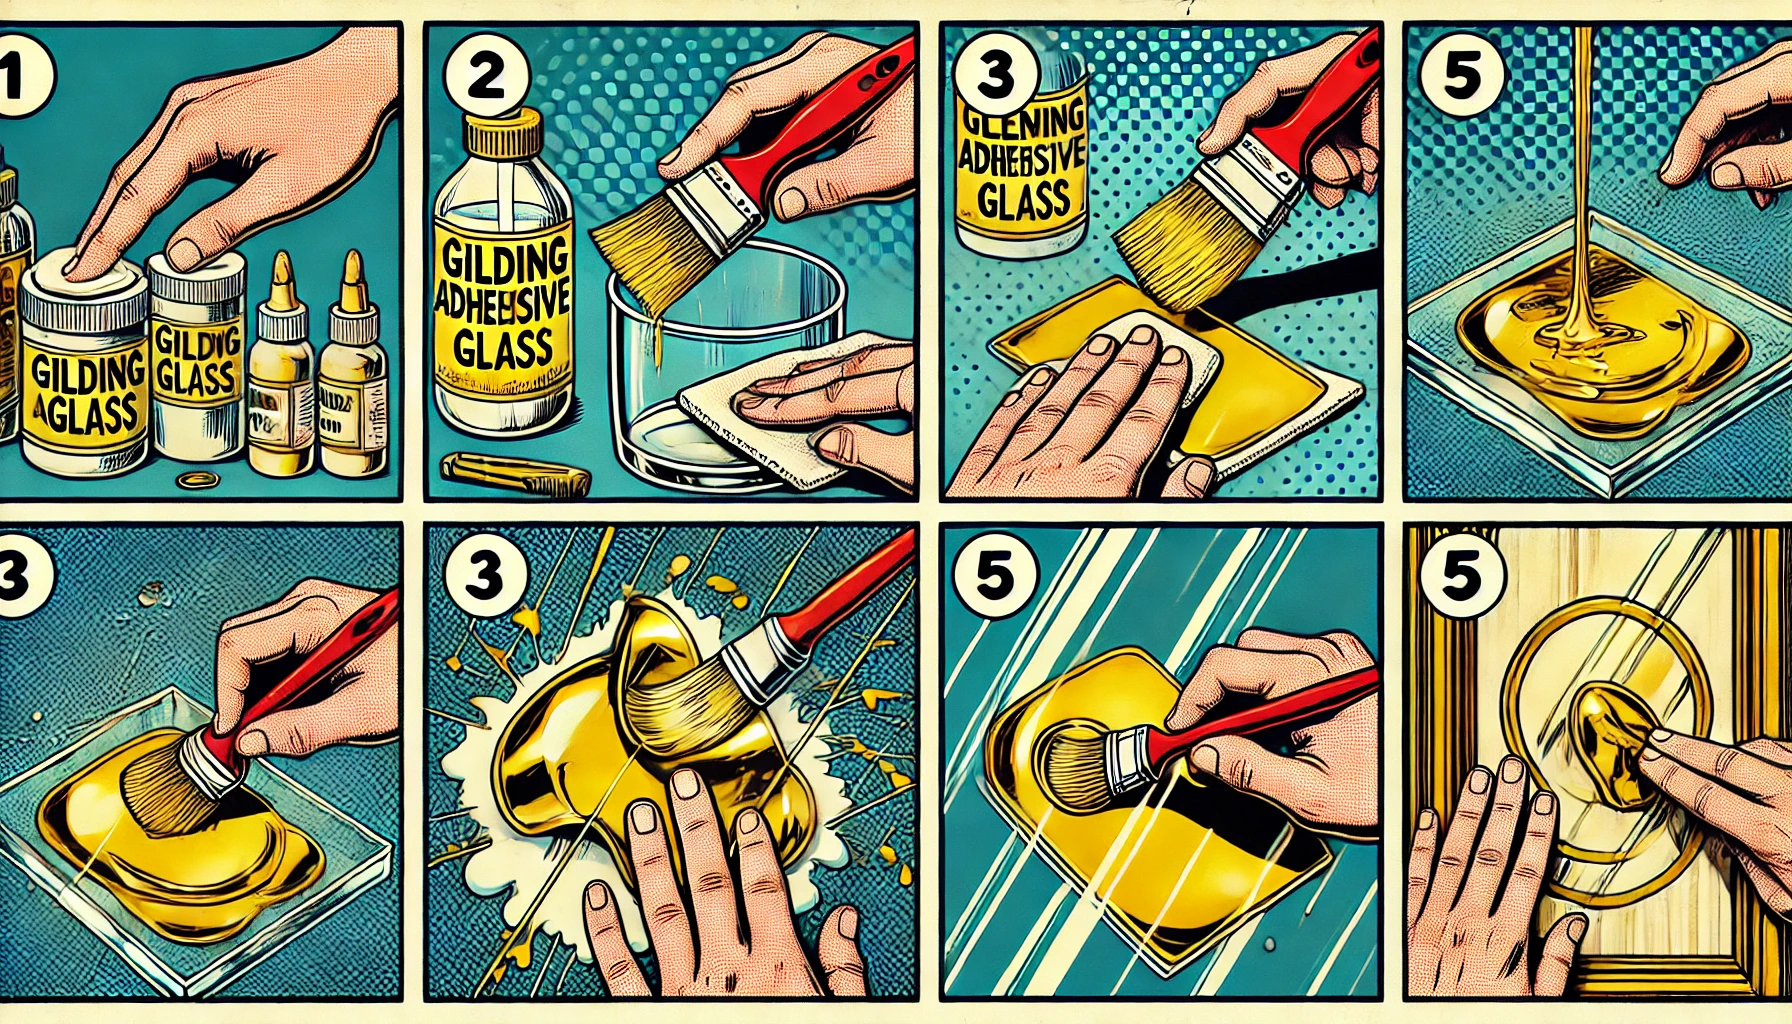
How to Gold Leaf Glass Gilding on Glass
Gold leaf can also be applied to glass for a beautiful and elegant finish. This process, known as gilding on glass, is slightly different than gilding on metal and often involves reverse gilding (applying the gold leaf to the back of the glass). Here’s how you can do it:
Materials Needed:
- Gold leaf sheets (genuine or imitation)
- Glass surface (clean and smooth)
- Gilding adhesive (size) – water-based is commonly used for glass
- Distilled water (for cleaning and preparing the surface)
- Soft brush (for applying adhesive and smoothing gold leaf)
- Cotton gloves (to prevent smudges and fingerprints)
- Backing paint (optional, for reverse gilding)
- Sealant or varnish (optional, to protect the gold)
- Gilding cushion and knife (optional, for cutting gold leaf)
Steps for Gilding Glass
1. Prepare the Glass Surface
- Thoroughly clean the glass with distilled water and a lint-free cloth to remove dust, dirt, or grease.
- Make sure the glass is completely dry and free of smudges before proceeding.
2. Apply Gilding Adhesive (Size)
- Using a soft brush, apply a thin, even coat of gilding adhesive (size) to the area of the glass you want to gild. For reverse gilding, apply the adhesive to the back of the glass.
- Allow the adhesive to dry to a tacky state, following the manufacturer’s instructions. This typically takes 15-30 minutes.
3. Apply the Gold Leaf
- Carefully pick up a sheet of gold leaf with a soft brush or your gloved hand. Genuine gold leaf is very delicate and can tear easily.
- Lay the gold leaf onto the tacky adhesive. For larger areas, overlap the edges slightly. Don’t worry about excess gold leaf; it will be removed later.
- Smooth the gold leaf gently onto the adhesive with a soft brush, ensuring it adheres evenly without bubbles or wrinkles.
4. Remove Excess Gold
- Once the gold leaf is securely attached, use a soft brush or cotton cloth to remove any excess gold around the edges. Be gentle to avoid damaging the gilded area.
5. Backing (Optional for Reverse Gilding)
- For reverse gilding, you may choose to protect the gold leaf with a backing paint. Apply the paint to the back of the gilded area once the gold is fully adhered. This creates a solid appearance and protects the gold.
6. Seal the Gold Leaf (Optional)
- To protect the gold leaf from wear, apply a clear sealant or varnish. Use a sealant suitable for glass to maintain clarity and durability.
7. Curing
- Allow the gilded glass to cure for at least 24 hours before handling or displaying.
Tips for Success
- Work in a clean, dust-free environment to prevent debris from sticking to the adhesive or gold leaf.
- Use distilled water for cleaning to avoid streaks or residue on the glass.
- If you’re new to gilding, practice on a small piece of glass before working on larger projects.
This method works for decorative pieces, signs, mirrors, and windows, creating a luxurious, luminous finish.

