Gold leafing (also called gilding) a frame is a careful, step-by-step process. Traditionally it is done with water gilding or oil gilding, depending on the desired finish and how much durability is needed. Here’s a clear outline:
Materials You’ll Need
- Gold leaf sheets (real or imitation)
- Gilder’s cushion (or smooth surface to cut leaf)
- Gilder’s knife & brush (or soft makeup brush for small jobs)
- Size (adhesive) — either oil size or water-based size
- Gesso (if preparing raw wood)
- Red or yellow bole (clay undercoat, optional, for depth/warmth)
- Sealer (shellac or acrylic sealer)
- Burnishing tool (agate stone, optional, for water gilding)
- Soft cotton cloth
Step 1. Prepare the Frame
- Clean the frame thoroughly — dust and oils prevent adhesion.
- If raw wood: apply gesso layers, sand smooth, then apply bole if using water gilding.
- If previously finished: sand lightly and seal the surface with a primer or sealer.
Step 2. Apply Adhesive (Size)
- For oil gilding: Brush on thin, even layer of oil size. Wait until it reaches the correct “tack” (slightly sticky but not wet). This can take 1–3 hours depending on the product.
- For water gilding: Wet the bole surface with water/alcohol mix, then apply leaf while damp.
Step 3. Lay the Gold Leaf
- Carefully lift the leaf with a gilder’s tip (static from brushing across your hair helps).
- Lay leaf gently onto tacky size or wet bole.
- Overlap edges slightly — gaps can be filled with small scraps later.
- Lightly press down with a soft brush or cotton to smooth air bubbles.
Step 4. Burnish or Seal
- For water gilding: Once dry, polish with an agate burnisher to create a mirror shine.
- For oil gilding: Leave matte or lightly smooth; you cannot high-burnish.
- Seal with shellac, varnish, or protective coating if frame will be handled often.
Step 5. Touch Up & Finish
- Patch gaps with spare leaf.
- Clean gently with cotton cloth.
- Optionally add antiquing glaze or patina for an aged look.
Step-by-Step Guide
Here’s a step-by-step DIY guide for gold leafing a frame that you can follow at home. I’ll keep it practical, clear, and detailed enough for a first-time gilder:
DIY Guide: How to Gold Leaf a Frame
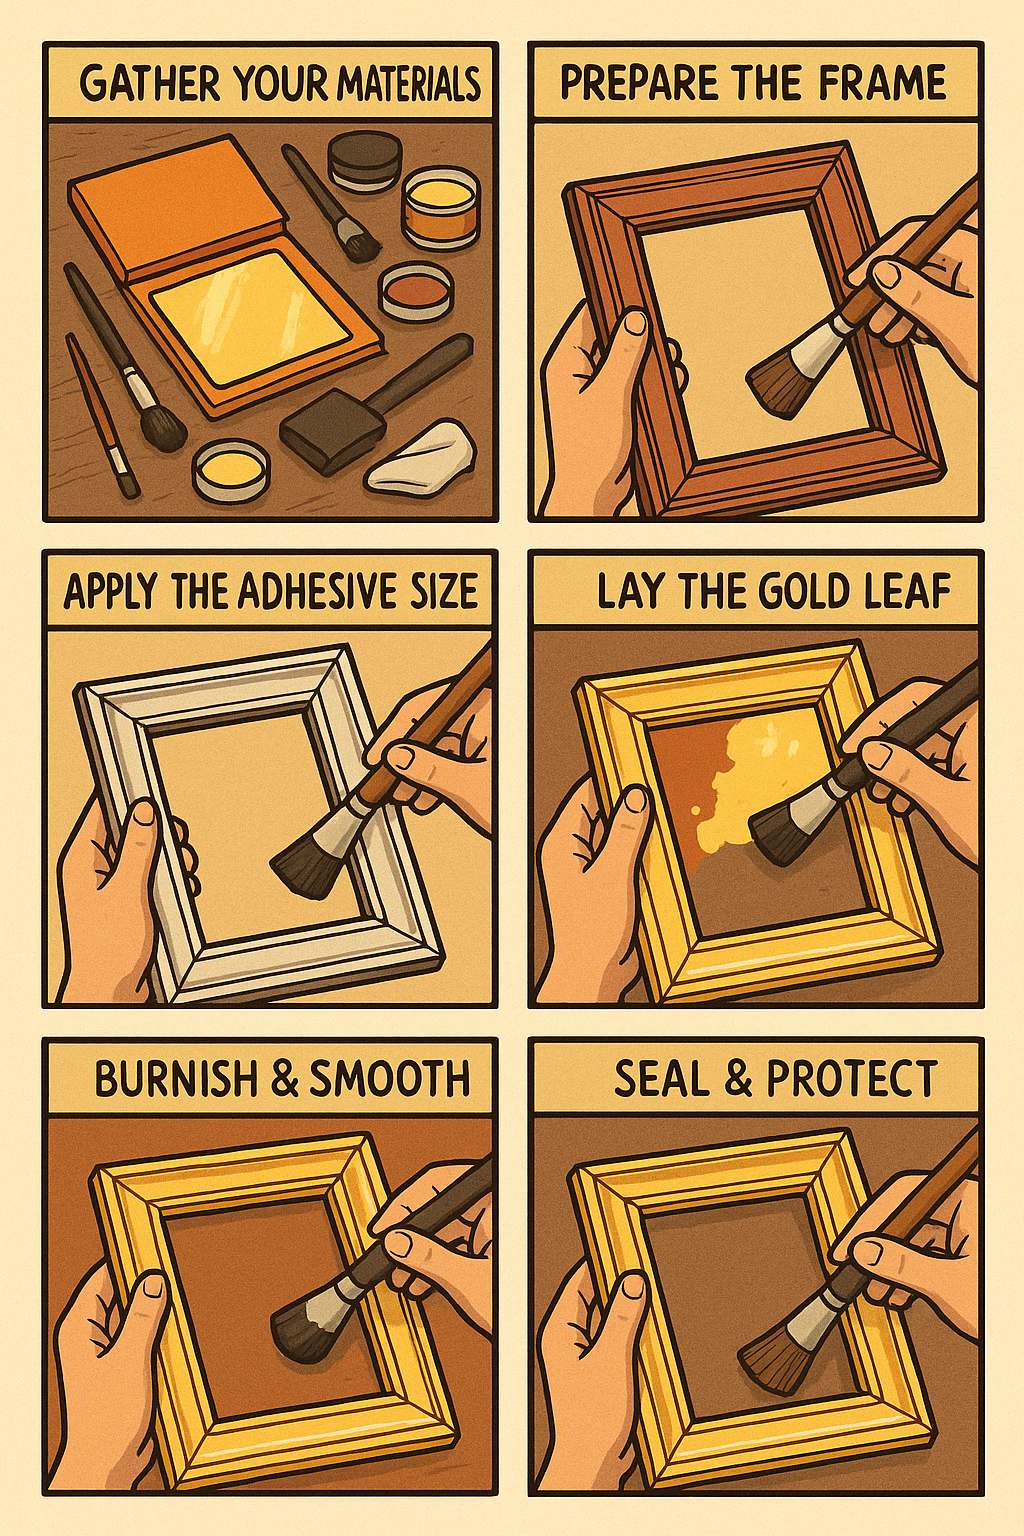
1. Gather Your Materials
- Gold leaf sheets (real or imitation)
- Adhesive size (oil-based or water-based)
- Soft brushes (natural hair is best)
- Cotton gloves or lint-free cloth
- Gesso (if bare wood)
- Red or yellow bole (optional for warmth & depth)
- Sealer (shellac or acrylic varnish)
- Craft knife or gilder’s knife
- Burnisher (agate stone, optional)
2. Prepare the Frame
- Raw wood: Apply several coats of gesso, sanding between coats until smooth. For a traditional warm glow, add bole over the gesso.
- Painted/finished wood: Sand lightly and seal with primer or shellac so the size adheres properly.
- Wipe clean — dust or grease will prevent adhesion.
3. Apply the Adhesive Size
- Brush on a thin, even coat of size where you want the gold.
- Wait until it reaches tack:
- Oil size = usually 1–3 hours (check product directions).
- Water-based size = tacky in about 15–30 minutes.
- Test with your knuckle: it should feel slightly sticky, not wet.
4. Lay the Gold Leaf
- With a gilder’s tip or soft brush, pick up a sheet of gold leaf.
- Place it carefully onto the tacky surface.
- Overlap edges slightly — gaps can be filled with scraps.
- Gently tap down with a soft brush or cotton ball.
- Don’t worry if it looks patchy; touch-ups come later.
5. Burnish & Smooth
- For water gilding: once fully dry, polish gently with an agate burnisher for a mirror finish.
- For oil gilding: leave matte or just smooth with a soft cloth (oil size doesn’t allow high burnishing).
6. Seal & Protect
- Brush on a thin coat of shellac, varnish, or protective sealer.
- If you want an antique look, rub a dark glaze or wax into crevices, then wipe back the excess.
7. Final Touches
- Use leftover leaf scraps to patch missed spots.
- Brush gently to remove loose flakes.
- Buff lightly with cotton cloth.